User:Piita
Lighting
Start from a new file in Blender. Depending on your start-up file you might already have a light in your scene. Press F12 to render. If you get an error about no lights in the scene then simply add an area light (Shift A->Lamp->Area) and press F12.
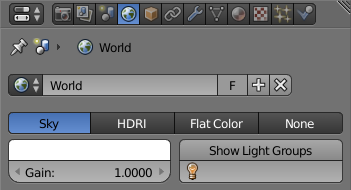
Lighting a scene is usually done by area lights or a HDRI. Go to the World panel and enable the HDRI option and open a HDRI file. Render. On this panel you can also enable/disable the default sky lighting.
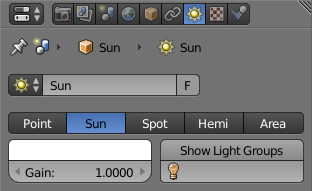
If your start-up file in Blender has the sun lamp, you might not see the HDRI light up your scene now because the sun lamp is very bright and overpowers the HDRI. Stop the render (ESC) and enable viewport rendering (Shift Z). Select the sun lamp and decrease its Gain. You probably need to use a low gain(0.00001) as the sun lamp is very bright.
Texturing
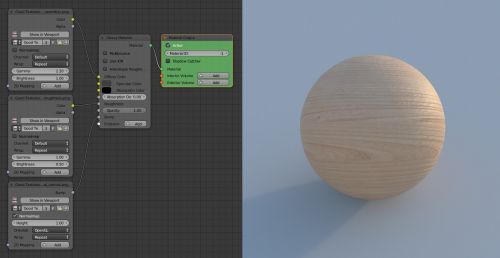
Add a Glossy material node (Shift A->Material->Glossy) and connect the material socket to the material socket on the output node. Open a texture in the image editor or drag and drop it into the editor. In the node editor add a texture node (Shift A->Texture->Image) and select the texture in the node. Connect the color socket from the texture node to the diffuse socket on the material node. If you have a roughness/specularity texture and a normal map texture you can add those too in a similar way. Drop the two textures into the image editor and duplicate the texture node (Shift D) two times. Select the roughness/specularity texture in the second texture node and connect its color socket to the roughness socket on the Glossy node. Select the normal map in the third texture node, enable the normal map option and connect the node to the bump socket on the Glossy node. Render.
Camera
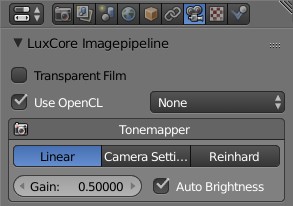
Auto Brightness
The camera will adjust the brightness automatically by default but you can disable it here if you need more control. If you are using a very bright lamp such as the sun along with weaker lamps such as area lights or HDRI's, the weaker lamps can look like they are not emitting any light, but in fact they are over-powered by the sun lamp. If you disable it you will need to adjust the brightness of all lamps individually.
Depth of Field
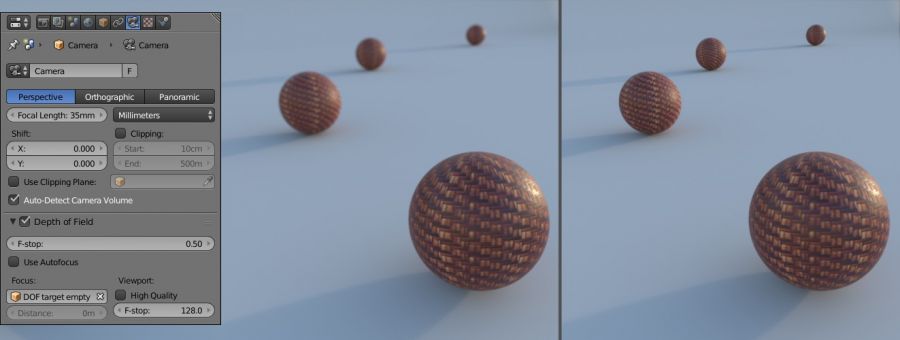
Enabling depth of field will render out of focus objects blurry. You get most control over this by placing an Empty in your scene and selecting that Empty as camera focus. You control the blurriness with the F-stop value. This works in the same way as a real camera: a low value (about 1) gives a more blurry/out of focus render. Increase to get a more in focus effect.
Render Settings
Render Engine
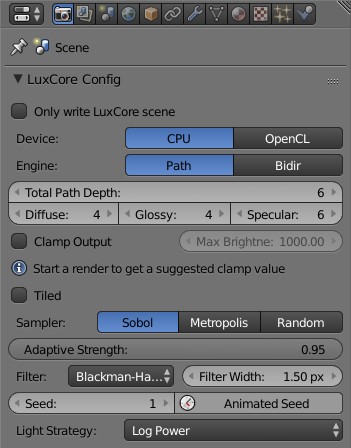
Path + Sobol is the fastest and works good for scenes with simple lighting such as studios, well lit indoors and outdoors. Bidir + Metropolis can handle anything that Path + Sobol can but also scenes with more difficult lighting such as light coming in from outside a room. It is also required if you want to render caustics.
Halt Conditions
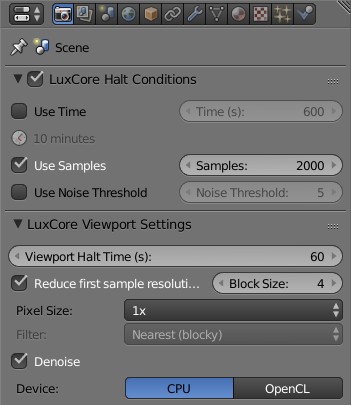
By default the render will stop only when you stop it. Here you can set specific conditions when you want the render to stop.
Viewport Settings
If you need the viewport render to run longer than the default 10 seconds you can change that here.
