LuxCoreRender Materials Car Paint

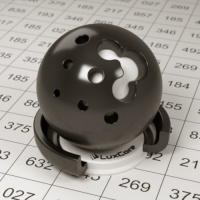
Car Paint is an advanced glossy material, simulating a diffuse surface with multiple reflective coatings. It works well for car paint, obviously, but is also well suited to any sort of "high-tech"-looking painted surface, such as painted aircraft skin, starships, futuristic weapons, etc.
Presets
Presets are available for some quick paint jobs. These are derived from the paper that the car paint material itself was based on. (You can read the paper here). The actual values used by the presets can be found here.
-
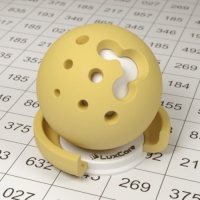 2k Akrylack
 -
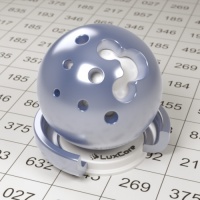
 Blue
Blue -
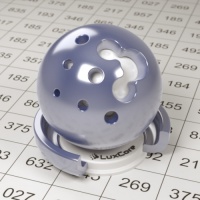
 Blue Matte
 -
 BMW 339
 -
 Ford F8
 -
 Opel Titan
 -
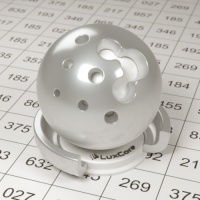
 Polaris Silver
 -
 White
White


Parameters
The parameters may seem complicated at first, but when the basics are understood it's not that difficult. There are 12 parameters but you can group some of them so that you actually have only 6 (M1-3, R1-3, Spec col 1-3).
You work with three gloss "layers" in car paint and each layer has three parameters that can be controlled. In a nutshell, they are specular color (color/brightness), R (fresnel power) and M (roughness). For example the first layer's parameters are "Specular color 1", "R1", "M1". (note: "layer" is a bit of a misnomer, as they do not actually stack, they are merely chosen at random. But it will be used here as a term of convenience)
When setting up the gloss layers, you may find it easiest to "solo" each layer by turning the specular color on the other two layers to full black, allowing you to configure your M and R values for each layer one at a time. You will find that using higher values for M and R (such as R=.9, M=.2) produces a more "metallic" look for that layer, while lower values (such as R=.01, M=.02) produces a more "glassy" or "waxy" appearance.
Diffuse Color
The diffuse color is the base color of the material. Try to not go above 0.8 as no color in the real world is that saturated/bright.
Specular Color
This controls the color and brightness of the reflections for each layer. Increasing the value of this color will result in that layer reflecting more light, producing a stronger reflection. Setting this color to green, the reflection of a gray object will appear green on the surface of the car paint. The reflection of a red object will appear yellow (the combination of red and green).
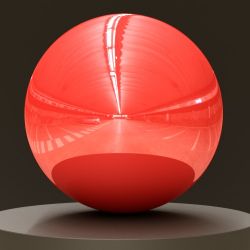
R1-3
The R value controls the strength of the fresnel effect. With low R values, the reflection will only be near full strength when viewed from a very steep angle. At high values, it will be almost evenly distributed across the material. Generally, you want to use a lower R value for your brightest, most glossy layer, and increase it for the duller layers. How much will depend on the paint you are simulating.
-
 R=1.0
R=1.0 -
 R=0.1
R=0.1 -
 R=0.01


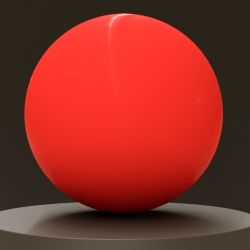
M1-3
This one controls how strongly the reflections are scattered. It can be set between 0.0001 and 1.0. Higher values will make the reflections scatter more.
-
 M=0.001
 -
M=0.01
-
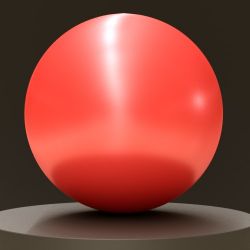 M=0.1
M=0.1


Absorption Color and Depth
Color
Absorption means that the light which reaches the car paint is not reflected but "swallowed" by it. If your light source is white it consists of even amounts of red, green and blue. If you set the absorption color to red, the car paint will absorb the red and reflect the green and blue (which is cyan). Absorption works on the diffuse color of the car paint, and not on the specular layers.
Depth
Depth works as a scale factor for the absorption color. Increasing it makes the car paint absorb more. Setting this to 0.0 or the absorption color to black will disable absorption.
Back to Materials